
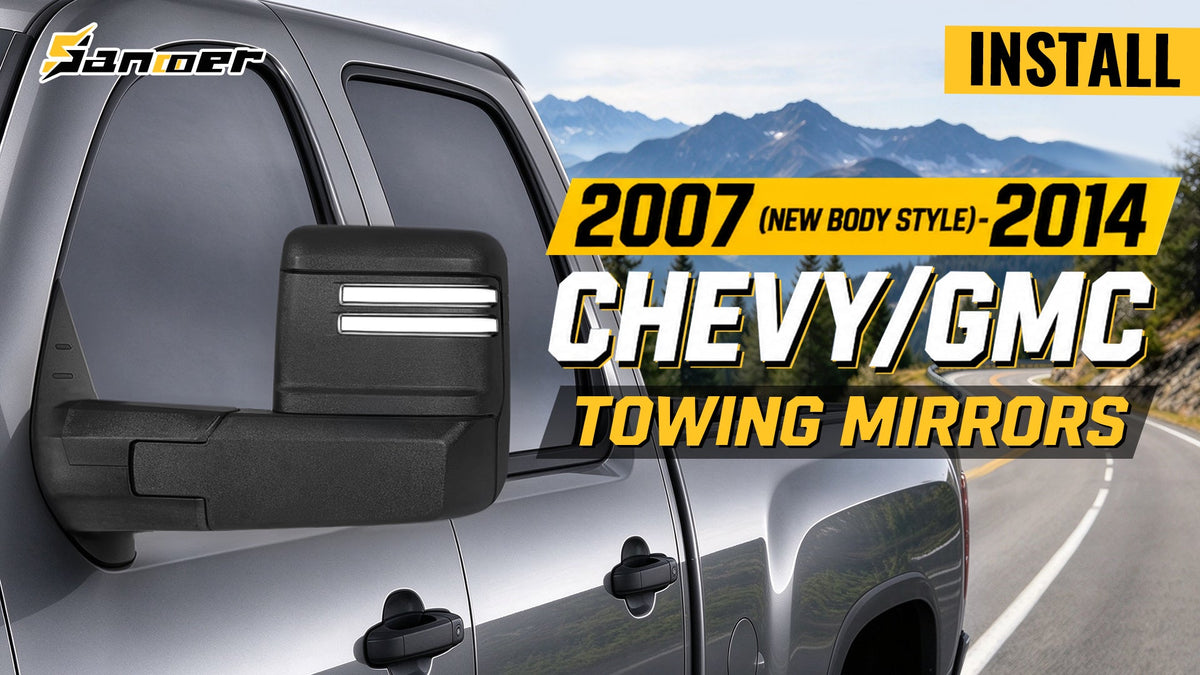
Looking to upgrade your 2007–2014 Chevy Silverado or GMC Sierra with aftermarket tow mirrors? In this Blog guide, we'll walk you through the Sanooer Tow Mirrors on a 2013 GMC Sierra 1500 GMT900 with Sleek post-2019 style upgrade tow mirrors.
Vehicle Fitment
|
Year |
Model |
|
2007 (New Body Style) |
Chevy Silverado / GMC Sierra 1500 / 2500 HD / 3500 HD |
|
2008 – 2013 |
Chevy Silverado / GMC Sierra 1500 |
|
2008 – 2014 |
Chevy Silverado / GMC Sierra 2500 HD / 3500 HD |
|
2007 – 2013 |
Chevy Avalanche |
|
2007 – 2013 |
Chevy Suburban 2500 / GMC Yukon XL 2500 |
|
2007 – 2014 |
Chevy Suburban 1500 |
|
2007 – 2013 |
GMC Yukon XL 1500 |
|
2007 – 2014 |
Chevy Tahoe / GMC Yukon |
Firstly, we’ll walk you through:
· Tools needed for installation
· Step-by-step mirror replacement
Tools Needed Before Installation
· Wrench Socket set
· Zip ties
· Wiring connectors
· Electrical tape
· A pair of gloves
· Wire Cutters
· Pliers
· Phillips head
· Flathead
· Screwdriver
· Small hammer
· Extra Wiring
· Light


Step-by-Step Chevy Tow Mirror Installation
Step 1: Disconnect Battery Power
Before working on electrical components: Disconnect that negative battery.

Step 2: Remove the Interior Door Trim Panels
Pried the little clip out here, take the door lock contraption off.
 Using a small pick or flathead screwdriver, remove the small plastic cover plate behind the interior door handle to reveal the door lock/latch screws.


Remove the black plastic inner triangle cover on the upper inside corner of the door, directly opposite the mirror and pry up the door panel.


Step 3: Unbolt and Remove the Stock Mirror
Remove the three mounting nuts holding the mirror assembly.

Safety Step:
Hold the outside mirror housing with one hand through the open window while loosening the nuts with your 10mm socket. This prevents the mirror from falling and damaging your outer door paint.
Step 4: Install the New Towing Mirror
Inspect the rubber weather seal on your new towing mirror. Ensure it sits flush against the base to prevent wind noise and water leaks.
Using your ratchet, tighten the 10mm nuts evenly in a diagonal pattern.
Step 5: Wiring Harness Installation
Plug the extension harness into the connector.

Use a coat hanger or wire puller to guide the extension harness through the rubber door boot and down into the driver-side cabin under the dashboard.


After that, repeat the exact same process on the passenger side.
Slide heat shrink tubing over the Blue(DRL) and White wires(Backup Light), join the passenger side and driver side wires together, then use a heat gun to seal and insulate the connections.
Step 6: How to Connect to the fuse box
Route the wires for the Blue(DRL) and White wires(Backup Light) through the firewall grommet on the driver’s side into the Under-Hood Fuse Box. 
Using an add-a-circuit fuse tap, connect the DRL wire to Fuse #33.
And the Reverse Light wire to Fuse #10 in the fuse box to power both auxiliary functions safely.

Step 7: Test Functions and Resemble All the Door Panel Parts
Before snapping the interior door panels back into place, perform a systematic test of all electrical features:
Testing Checklist
|
Function |
Test Result |
|
Running Light |
✅ |
|
Turn Signal |
✅ |
|
Backup Light |
✅ |
|
Heated |
✅ |
By now, you've mastered the basics of replacing 2007-2014 Chevy Silverado/GMC Sierra tow mirrors. [Check out the Tow mirrors here]
For other needs, feel free to check out Sanooer Youtube channel and social media platforms to explore more content that interests you! ❤ https://linktr.ee/sanooerautoparts


Leave a comment
All comments are moderated before being published.
This site is protected by hCaptcha and the hCaptcha Privacy Policy and Terms of Service apply.